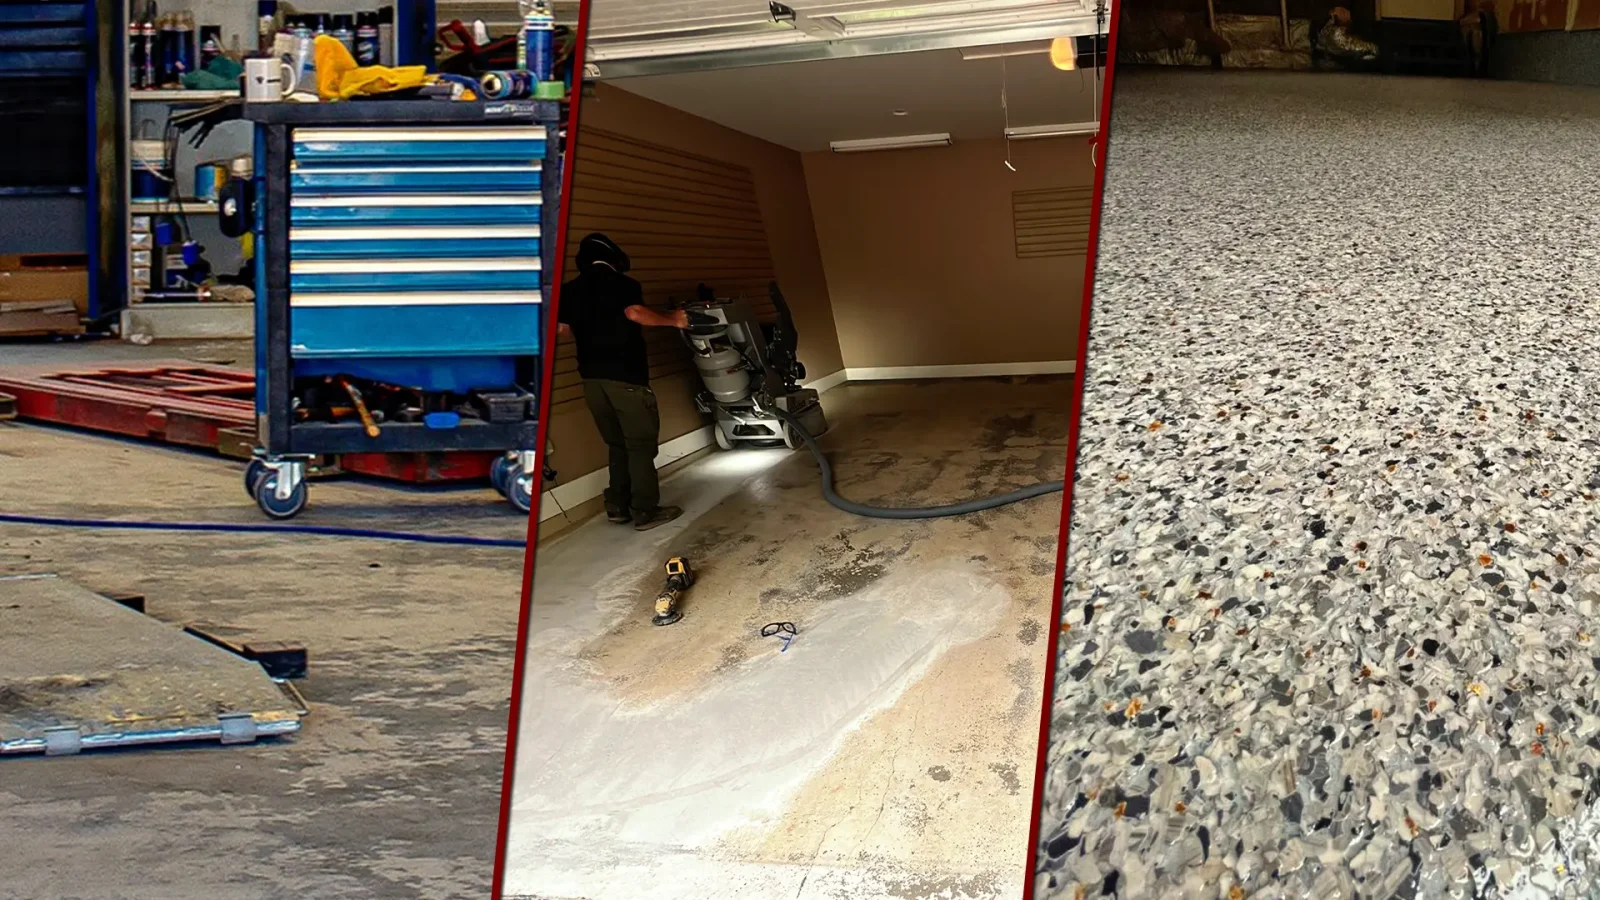
When it comes to upgrading your garage with a garage floor coating, the preparation process is crucial for a long-lasting and durable finish. Hence, here’s a detailed guide on preparing for a garage floor coating.
Preparing for a Garage Floor Coating – 1. Clear Out the Garage Space
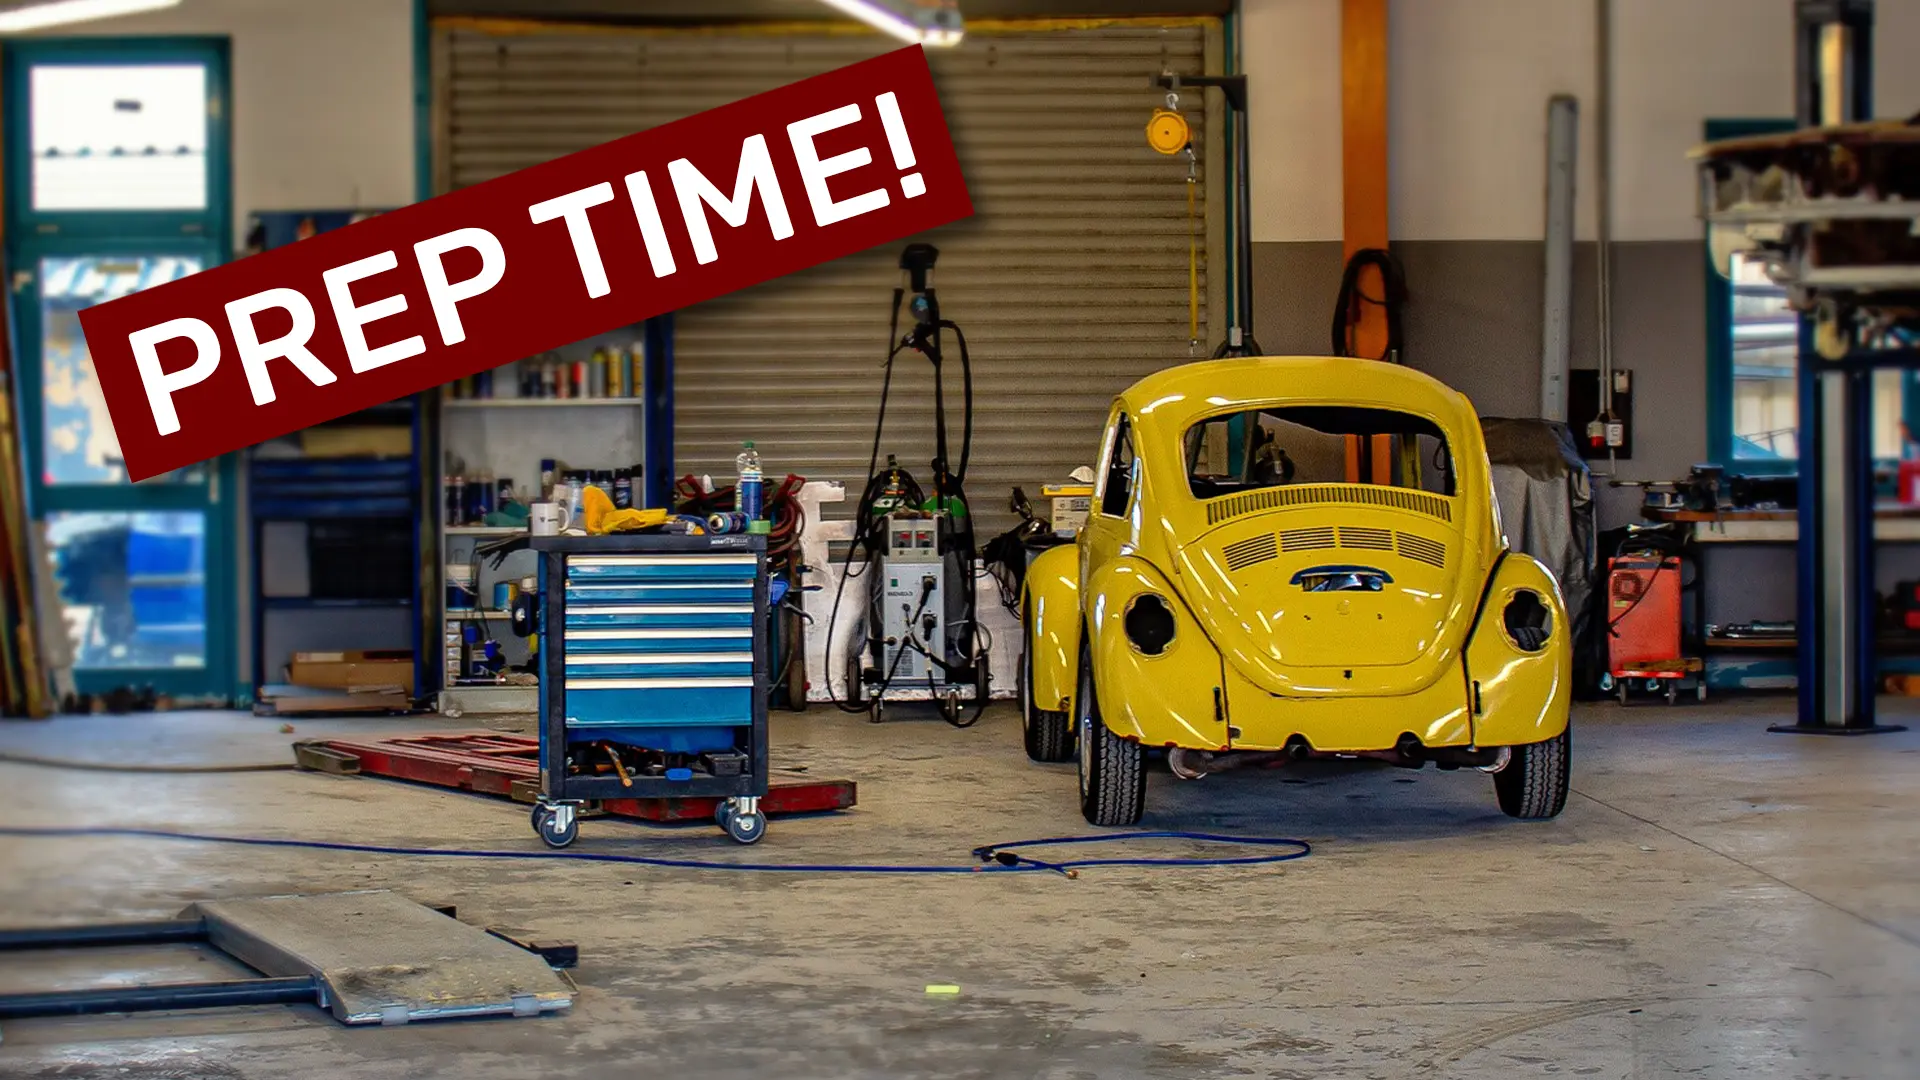
Move everything out: All items should be relocated from the garage. Here are some options for storage:
- Driveway storage: If large appliances need to stay outside, cover them securely under a tarp and make sure they are locked to prevent any hazards.
- Basement or another room: Move smaller items like tools and sports equipment indoors to keep them out of the way.
- Temporary storage units: Renting a storage unit is a great option if you need space for larger items.
- Neighbor’s garage: If you have a nearby neighbor willing to help, moving items across the street might be an easy solution.
Clearing out the garage fully ensures the team can apply the epoxy flooring evenly across the entire surface.
If there are electronics in your garage that can’t be removed, wrap them securely to prevent dust and debris from settling on them during the installation process.
Preparing for a Garage Floor Coating – 2. Shut Down HVAC Systems
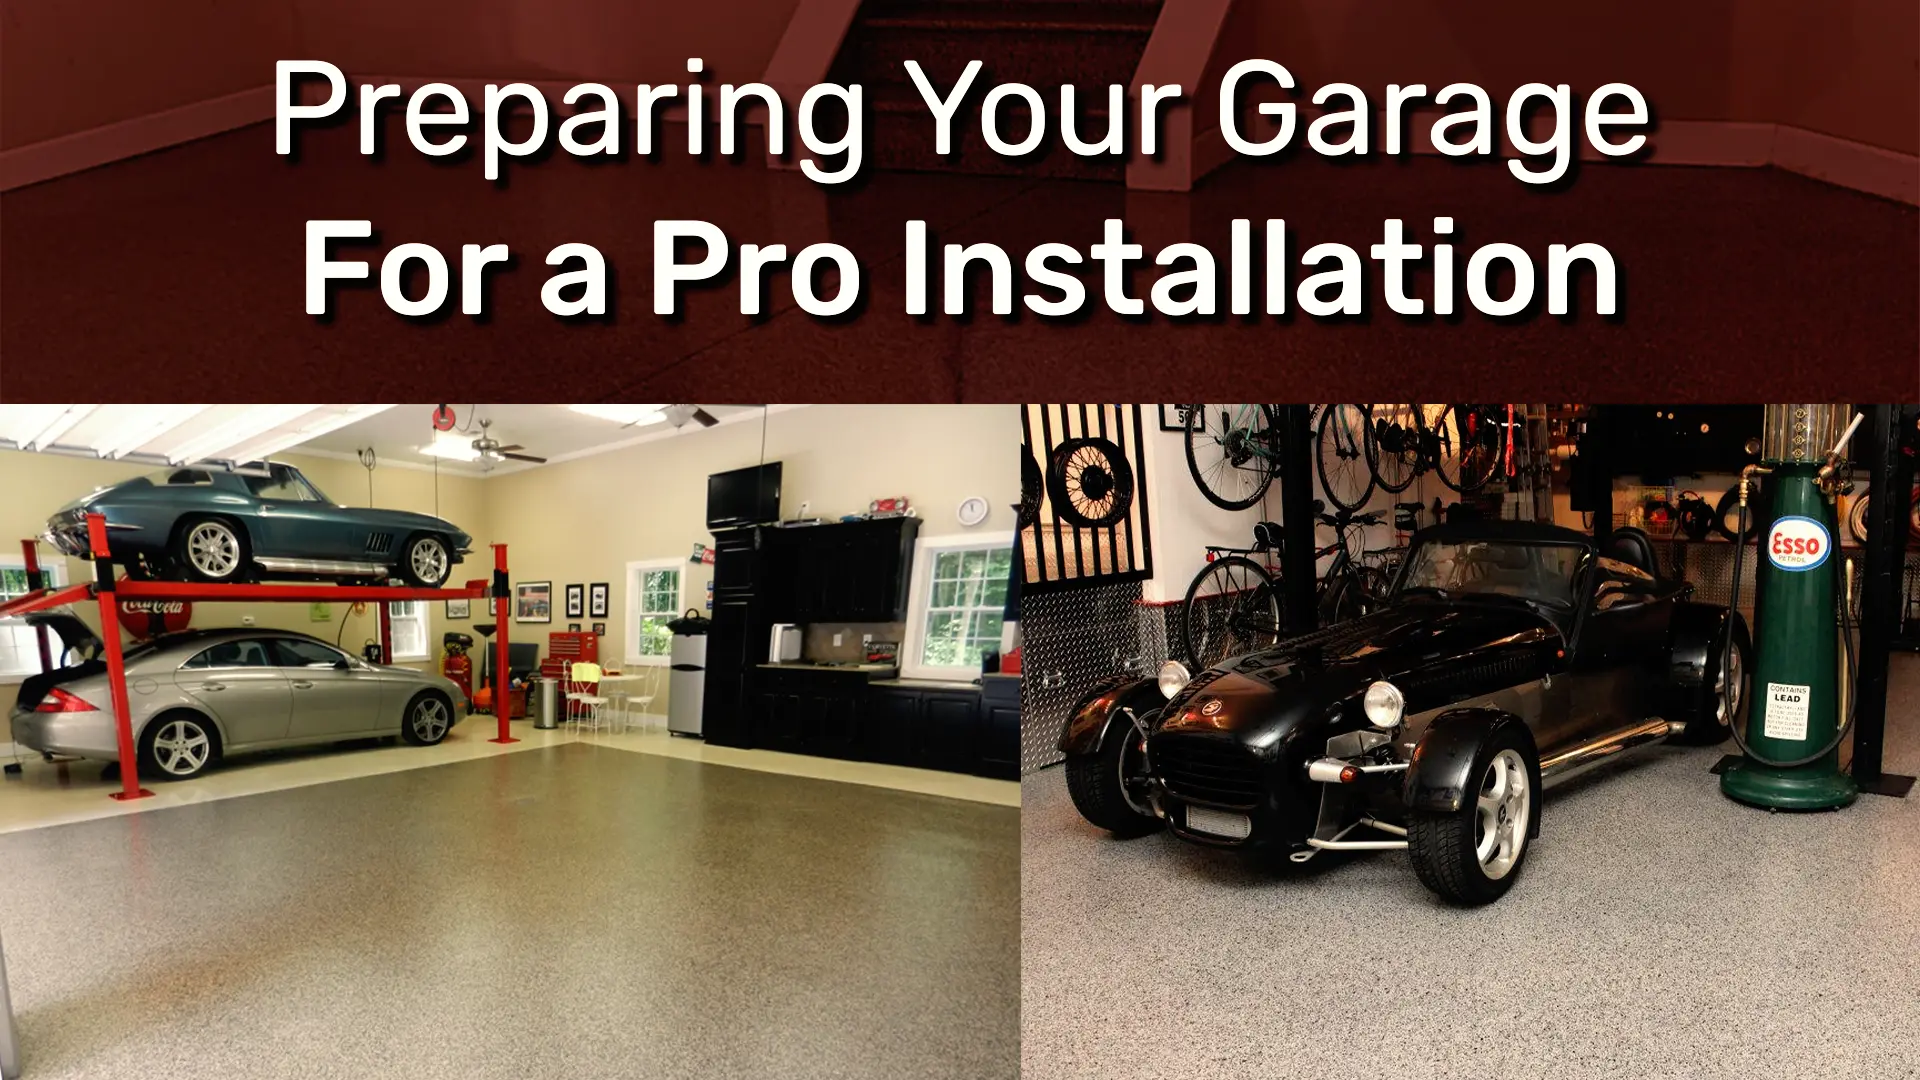
In addition to clearing the space, any HVAC units located in the garage should be turned off. This is necessary for the entire duration of the installation process, up until the top coat is fully applied. Turning off the HVAC system prevents dust and odors from being drawn into your home, ensuring the coating cures properly without any contamination.
Preparing for a Garage Floor Coating – 3. No Need to Remove Wall-Mounted Items
Unless your wall-mounted items are within 36 inches of the floor, there is no need to take them down. The grinders and crew members need space to work along the edges of the floor, but any items mounted higher up can stay put without affecting the installation.
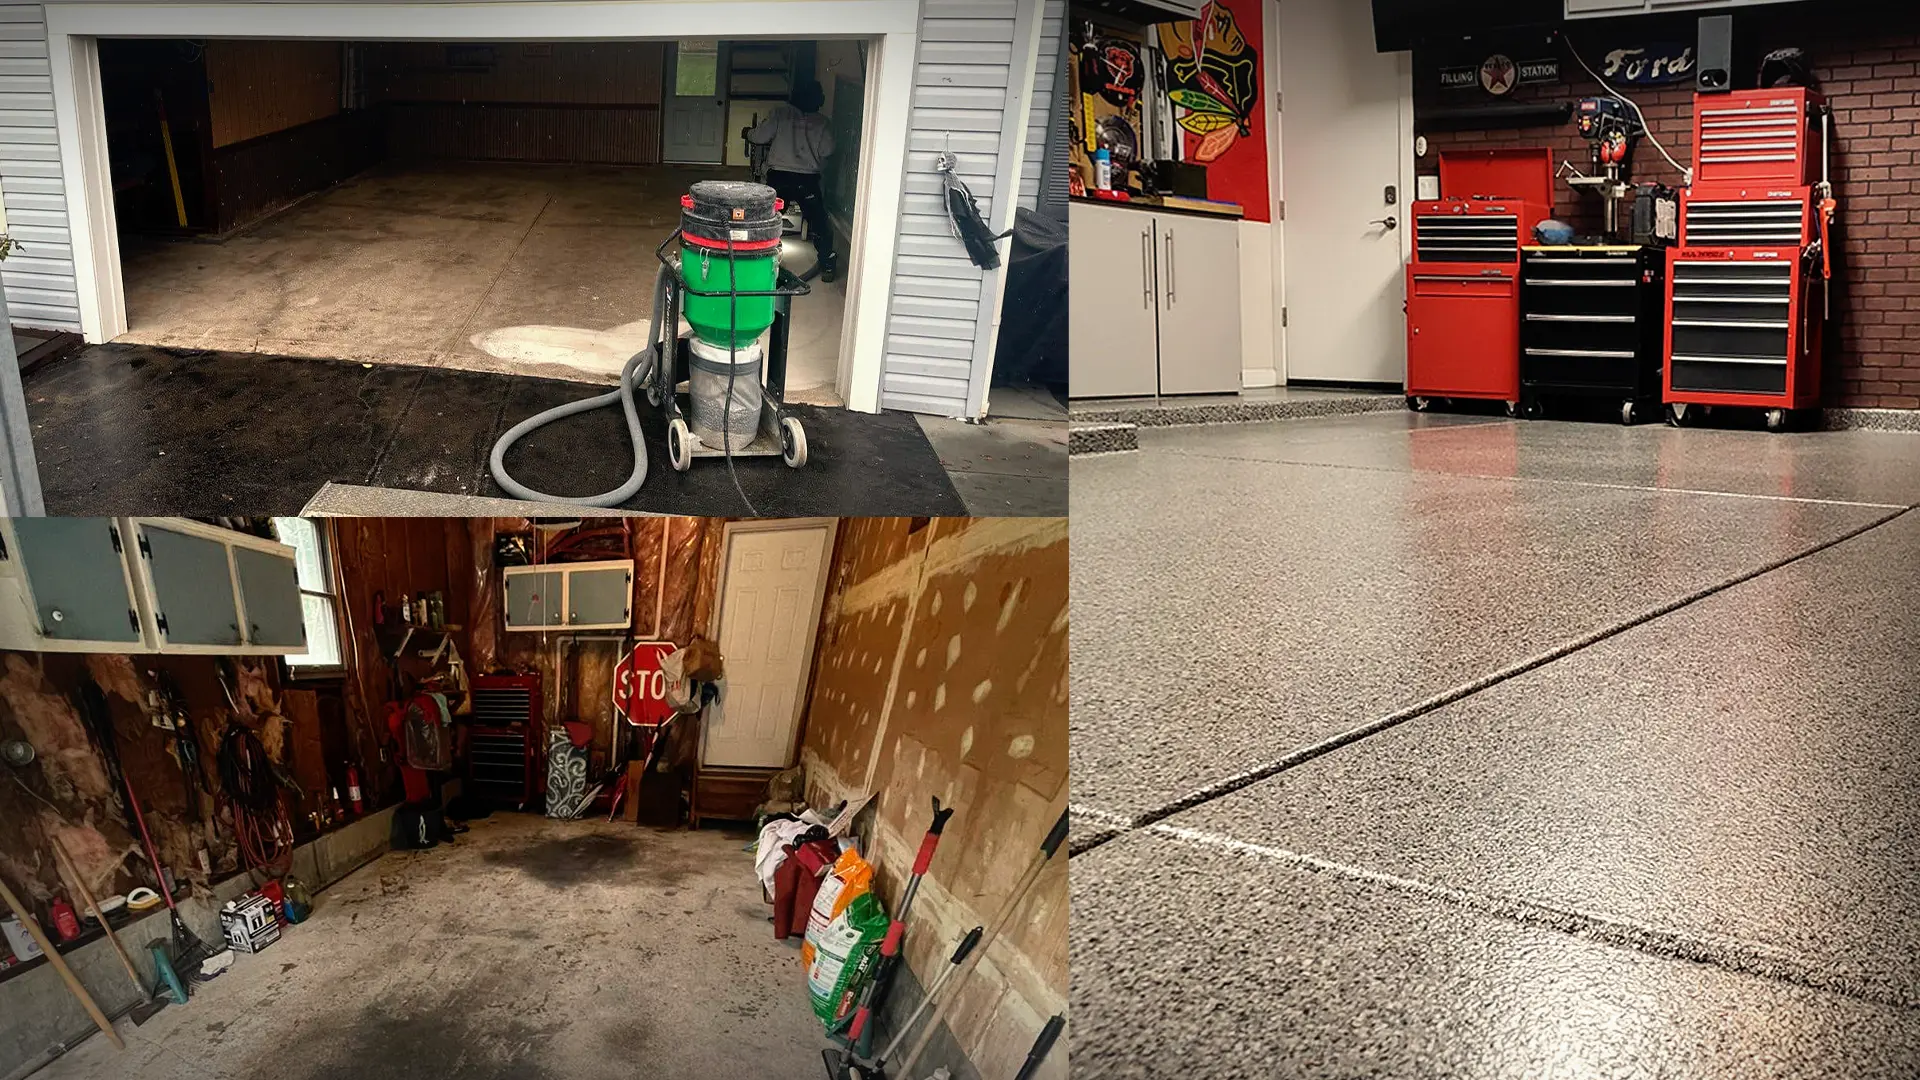
Preparing for a Garage Floor Coating – 4. Take a Break From Yard Work and Home Repairs
Hold off on yard work and home repairs while your garage floor is being coated. Mowing, trimming, or doing home improvement projects near the garage can send dust and debris flying, which could affect the finish of your new Cincinnati epoxy floor coating. Waiting until the installation is complete will ensure a smooth, long-lasting result.
5. Surface Preparation and Installation
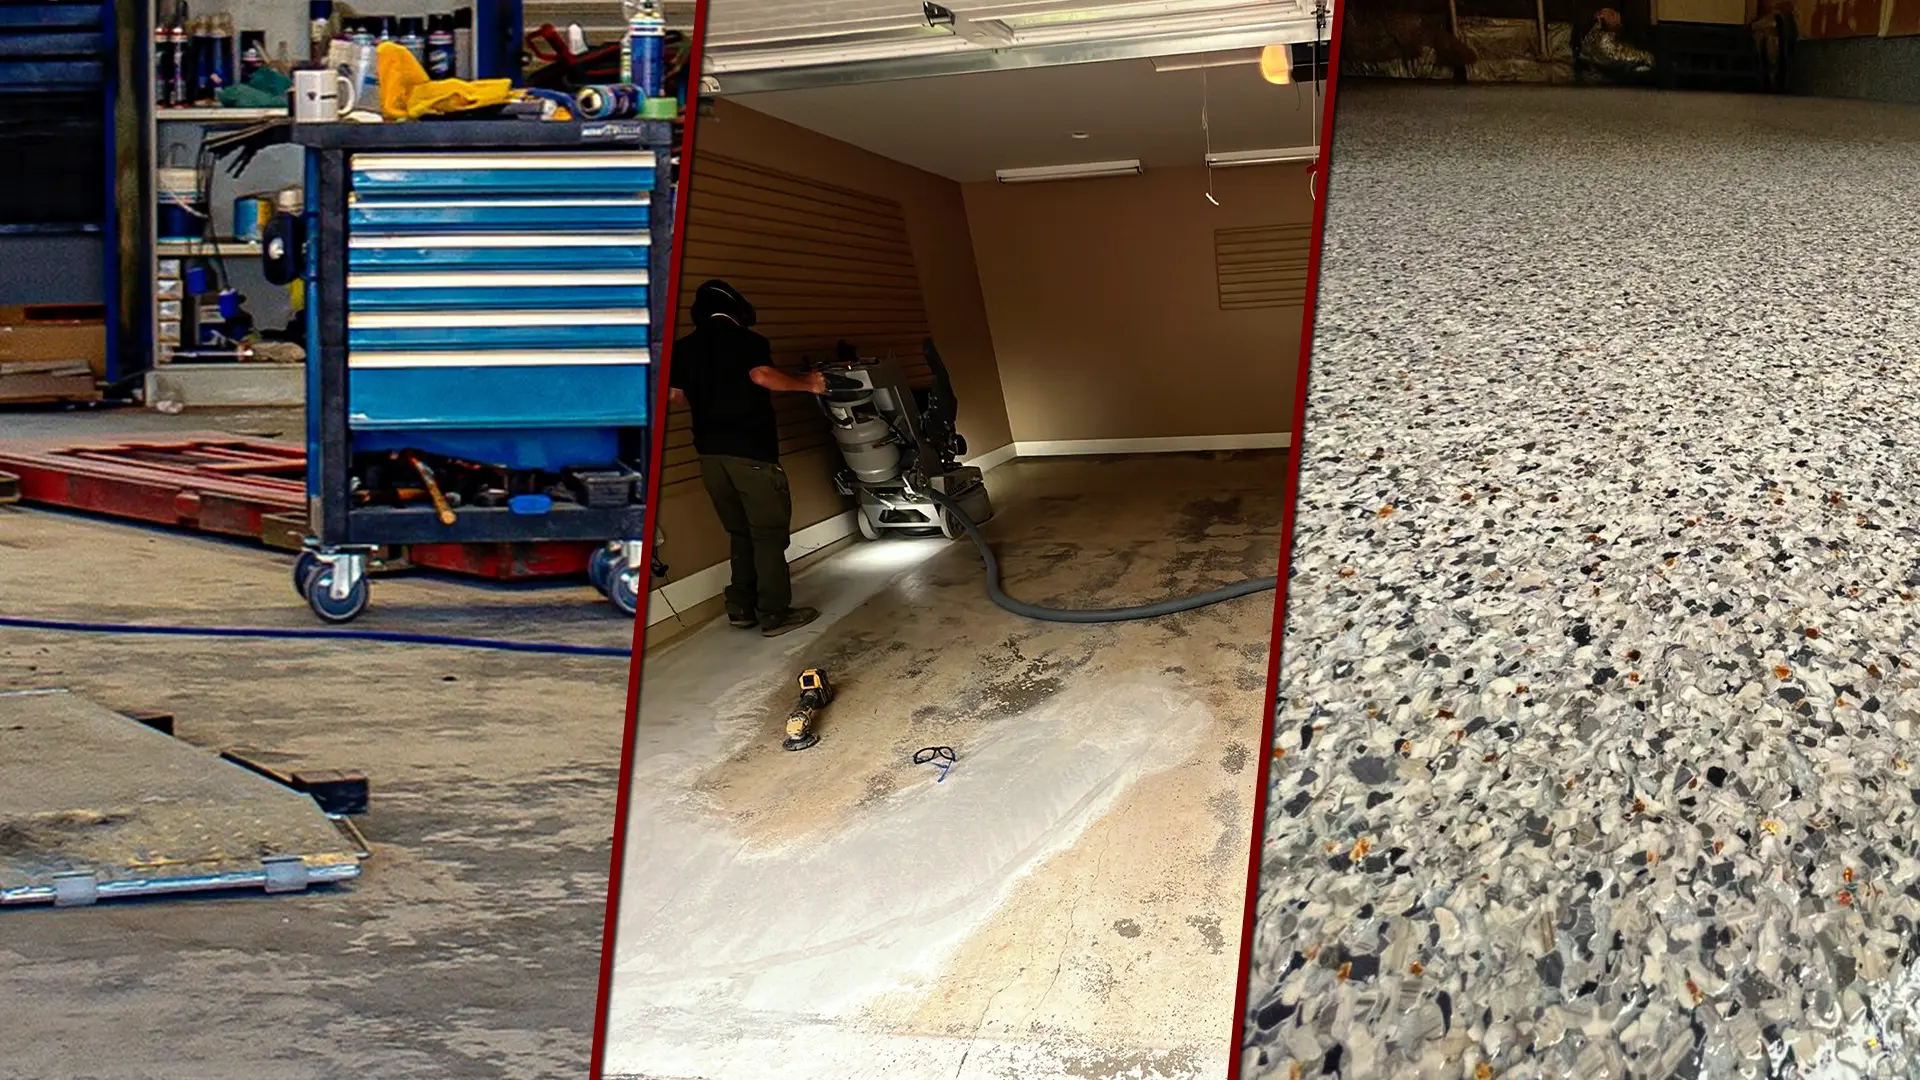
As the customer, you don’t need to worry about concrete surface preparation. Once the garage is cleared and the HVAC is off, the GatorGuard team will begin the surface preparation:
- Grinding the concrete: To ensure proper adhesion, the concrete surface will be ground down to remove any old coatings, concrete floor paint, or contaminants. This creates a rough surface that allows the new coating to bond effectively.
- Filling cracks: Any cracks in the concrete will be filled with materials that are specifically designed to bond with the coating, creating a smooth and seamless surface.
Why GatorGuard’s Concrete Coatings Are Popular Throughout Cincinnati
In Cincinnati, weather conditions can vary greatly between hot summers and cold winters. Luckily, the epoxy flooring solutions offered by our GatorGuard teams are designed to handle these extremes. They provide excellent resistance to moisture, road salt, and temperature fluctuations, making it ideal for garages exposed to such conditions. Therefore, whether you’re dealing with summer humidity or winter snow, your garage floor will be protected and durable for years to come.
Share this Post

