When it comes to installing epoxy garage floor coatings, proper preparation is key. It’s the difference between a floor that looks great and lasts for years, and one that peels or cracks after a few months. At GatorGuard St. Louis, we know that the key to a durable, beautiful floor is all in the concrete prep work. So, how do we ensure your concrete is ready to handle whatever you throw at it?
Let’s dive into our process.
Step 1: Concrete Prep – Getting the Concrete Ready
Concrete may seem like a tough, unbreakable surface, but it has to be treated with care before applying an epoxy coating. We start by roughing up the surface to achieve the perfect Concrete Surface Profile (CSP). Think of CSP as the texture of the concrete. Too smooth and the epoxy won’t stick. Too rough, and it becomes uneven and harsh.
Here’s why CSP matters:
- Smoothness vs. Roughness: A CSP that’s too smooth (anything below a CSP 3) doesn’t give the epoxy enough profile to bond effectively. On the flip side, a surface that’s overly rough (CSP 5 or higher) may weaken the integrity of the surface.
- Targeting CSP 3-4: For most residential and commercial applications in St. Louis, we aim for a CSP between 3 and 4. This level of roughness creates the perfect surface for epoxy to properly bond.

Step 2: Concrete Prep – Using the Right Equipment
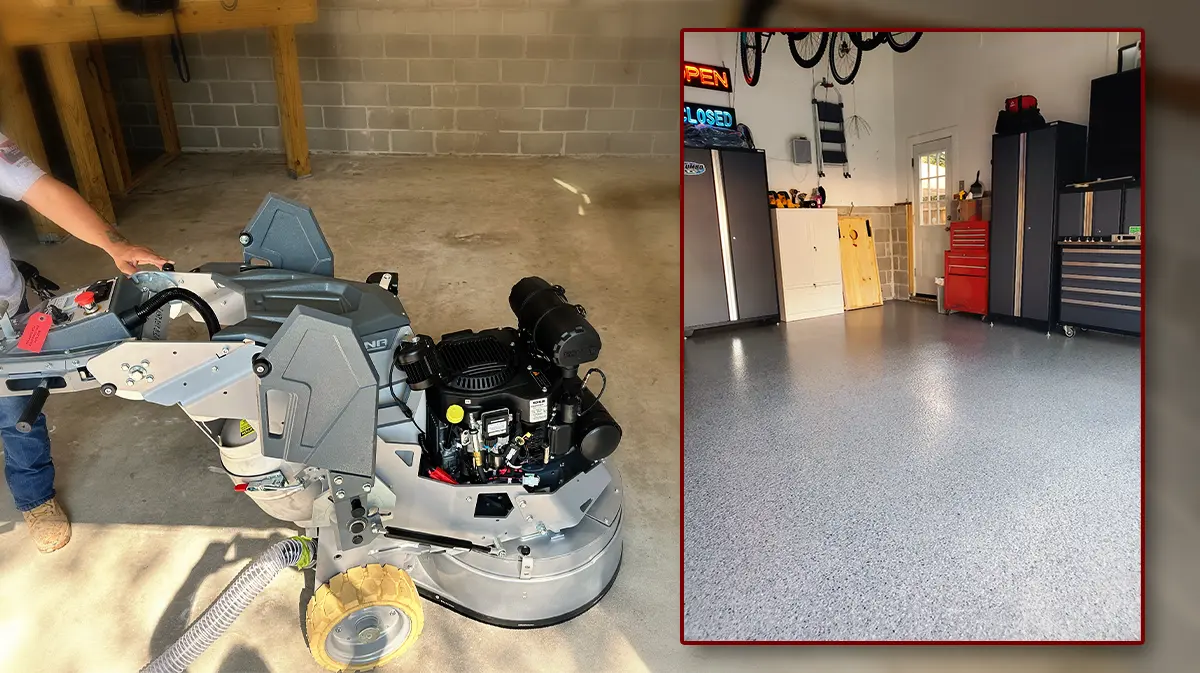
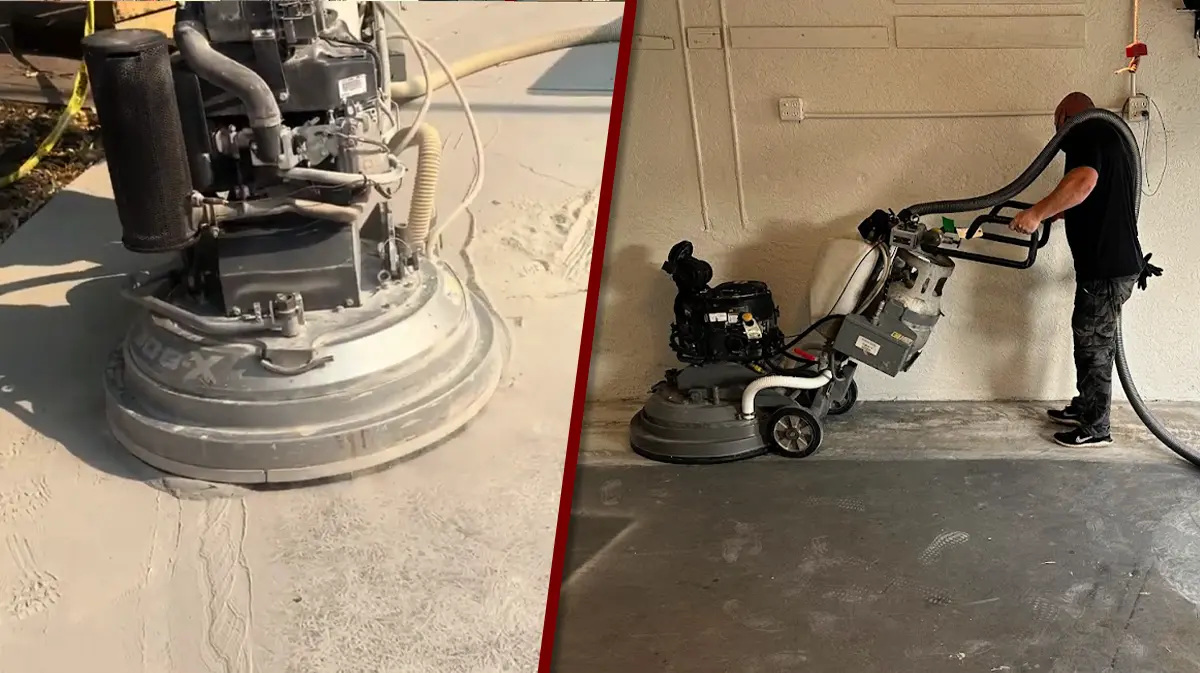
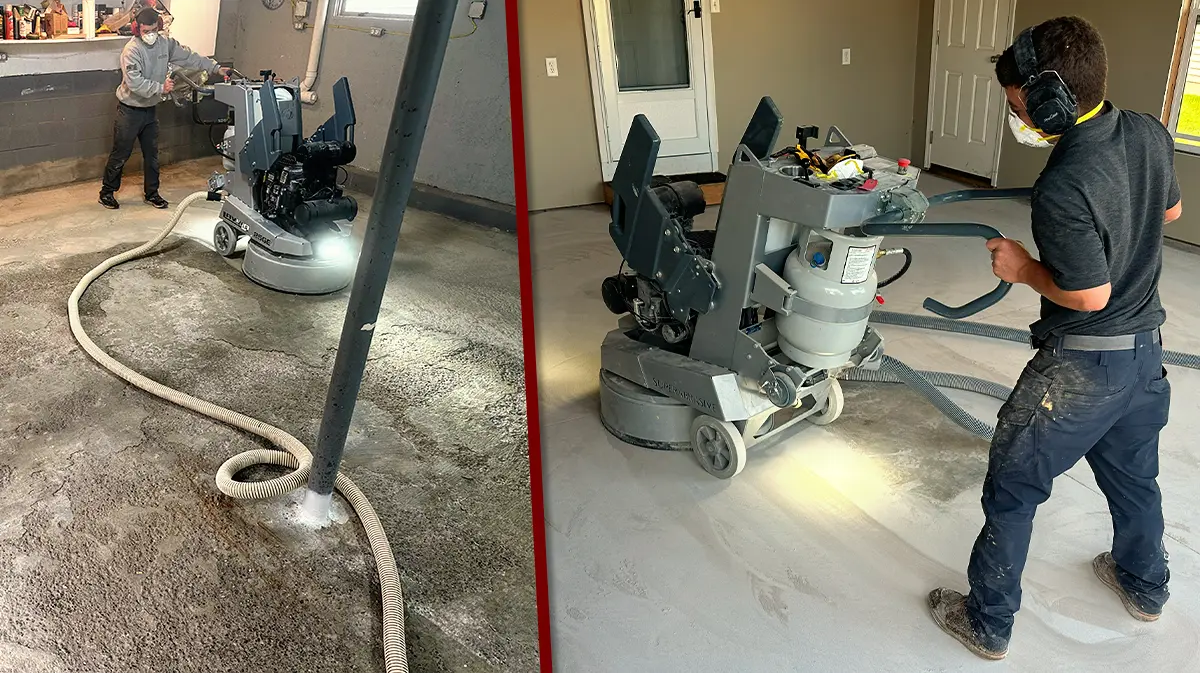
To achieve the right surface texture, the equipment we use makes all the difference. At GatorGuard, we rely on propane-powered grinders. They are simply more powerful and efficient than their electric counterparts.
Why propane? Here’s why:
- Power and Speed: Propane grinders are faster and more powerful, reducing the time and labor involved in preparing your garage floor.
- Safety: These machines don’t require electricity, so no electrical hazard when working in damp or wet environments.
- Indoor-Friendly: Despite their power, propane grinders produce almost no exhaust emissions. This makes them safe for indoor use without compromising air quality.
Step 3: Avoiding Common Pitfalls
Skipping concrete prep or using the wrong methods is a common mistake, especially with DIY projects or quick-fix contractors. Here’s what we avoid:
- Acid Etching and Low-Pressure Water Jetting: These methods don’t create the right level of roughness. With a CSP below 2, the epoxy simply doesn’t bond properly, leading to a floor that peels or cracks under pressure from vehicle traffic or St. Louis’s freeze-thaw cycles.
- Over-Aggressive Prep: On the other end of the spectrum, overly aggressive methods like rotomilling can leave the concrete too rough for a smooth, even finish. We stick to grinding, which delivers a consistent CSP between 3 and 4.
Concrete Prep – Why Professional Prep Matters
Many homeowners try to save money with DIY epoxy kits, but without proper concrete preparation, even the best epoxy won’t adhere correctly. At GatorGuard, we take the time to ensure every inch of your concrete floor is properly prepared for the coating process. This means:
- No Peeling or Cracking: Because we target the right CSP, your floor will stand up to heavy use, moisture, and St. Louis’s changing seasons.
- Uniform Finish: Proper prep leads to a seamless, professional-looking floor that won’t disappoint.
- Long-Term Durability: A well-prepped surface means your epoxy floor will last for years, saving you money on repairs and replacements.
The GatorGuard Guarantee
In a city like St. Louis, where temperatures can swing from humid summers to freezing winters, the right garage floor coating is only as good as the concrete underneath it. Our careful concrete preparation process ensures that your epoxy floor not only looks great but stands the test of time—no matter what the weather brings.
With GatorGuard St. Louis, you’re not just getting a garage floor coating. You’re getting peace of mind, knowing that every detail has been taken care of. From the first grind to the final coat, we’ve got you—and your garage—covered.
Share this Post


